My boyfriend Corey showed me a photo of the Saber maid figure and since it was too cute, I just had to make it! I love Saber's character and I do plan on making more of her outfits :D
Construction:
Dress - The dress was the scary thing to make since it is backless. This was the first dress that I ever wore that didn't have a back to it! Naturally because of the strange design, I had to hand draft a pattern for it. I split the dress into two parts: the bodice and the skirt. I made the skirt a full circle skirt. I used the bodice from the hobbit dress that I made as my base of modified it to fit the neckline and the low back. The dress was made using a light navy blue satin. The bodice is lined with the same navy satin with an old bra hand sewn inside to provide "some" support.
 |
| Dress Bodice |
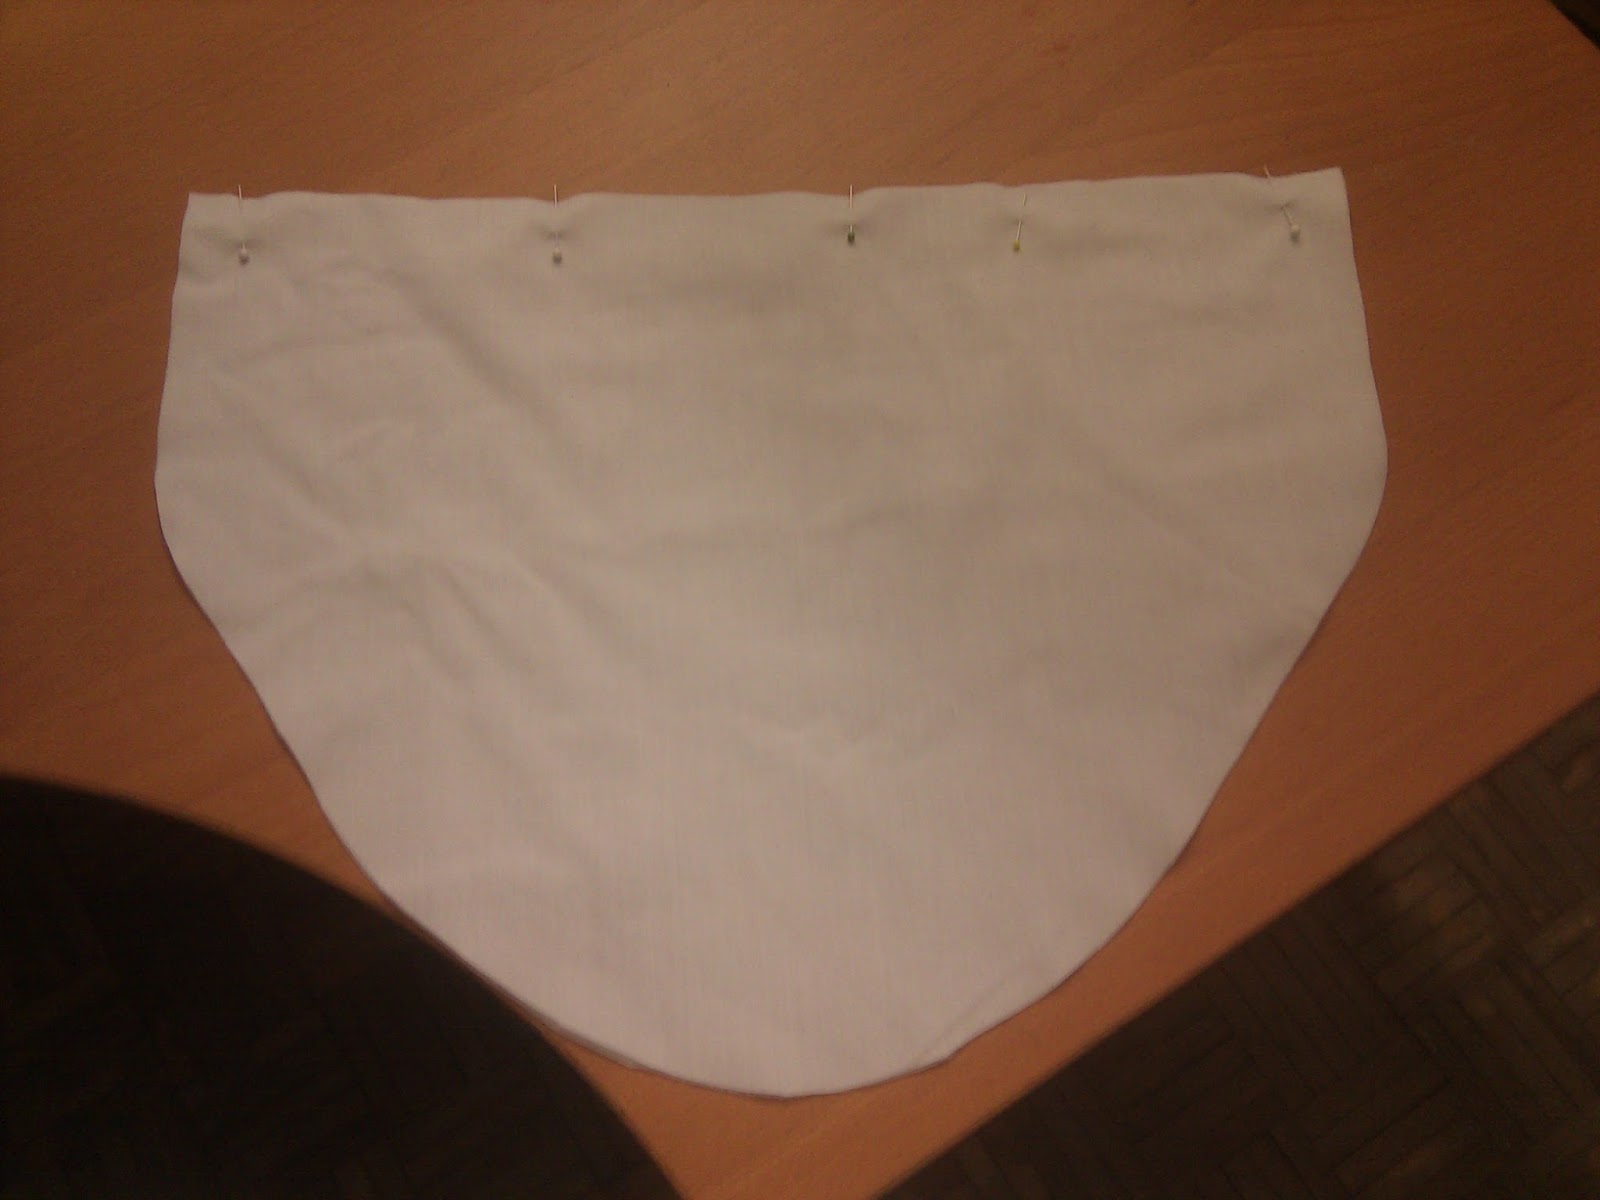
The lining for the skirt is separate and acts as the underskirt. It was made using a heavier white satin and edged in a crocheted triangular trim. The dress closes in the back with a small invisible zipper. The sleeves were made using the sleeve pattern from the same hobbit dress with a modification on the size of the puff. The cuffs were hand drafted and close with hooks and eyes. The final detail that was added was the ruffles around the neckline. They were made using the heavier white sating and since the gathering stitches broke before I could gather it all together, I opted for pleated them to fit the neckline.
 |
| Forming the Pleats |
Apron - The apron was made using a white poly cotton fabric. It was had drafted, the main part being made from a weird rectangular/oval shape. I had the gather it along all four sides separately to try and get the puffy shape that the figure has. The ruffles were made using two long strips of varying widths fold in half and gathered. The tie was also made from a long strip of fabric folded over itself. I added some vintage lace as an edging around the inner most ruffles to sort of embellish the apron a tad.
 |
| Base for Apron |
Stockings - The stockings were made using the same white poly cotton fabric as the apron. Two rectangular strips of fabric were cut for each stocking; one piece acted as the back of the stocking to which the elastic was sewn to while the other was the front. The front piece was slit in intervals to allow for the blue ribbon to pass through. Ruffles and lace were sewn to the top and bottom of the stocking cuff, which was then sewn onto black nylon stockings.
 |
| Stocking cuffs |
Wig - The wig was purchased pre-styled from ebay. Once I received it, I had to make some slight modifications to it such as adding the blue bow on the bun and making the antenna. The antenna was made using fabric glue and lots of hairspray.
Accessories - This costume had quite a a few accessories to complete it, namely the headband, collar and cuffs. The headband was made using a rectangular piece of fabric, folded over itself and interfaced. I added rows of lace along it to embellish it before sewing it to the purchased, fabric covered headband. The collar was made from a long strip of poly cotton, much in the same way as the stocking cuffs were made (without the elastic though). It was kept open ended with excess ribbon to be able to tie a bow and thus close the collar around my neck.
 |
| Collar |
The cuffs were simply rectangles of material sewn together with a layer of interfacing inside. The "buttons" were made using googly eyes from the dollar store that were painted black. Lace edging was also applied to the cuffs and they close with small bits of velcro.
Shoes - Her shoes are black Mary Janes but unfortunately they are really hard to find in my size so I just substitued a pair of black pumps that I already owned.
 |
| Completed Costume |


No comments:
Post a Comment